Using Debabizer
Using Debabizer
Most of the Older Macs with OS 9 have FINDERPOP on them.. an application that allows you to hold the mouse down to select an application. Otherwise, you'll need to pull the Debabelizer icon from the recent Applications folder in the Apple Menu
First go to HarlemLive-photos folder on the server.
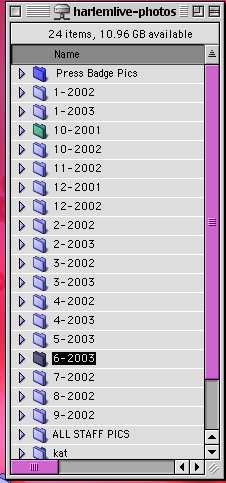
Go to the month and folder that you are looking for
All pictures must be REDUCED and CHANGED to JPEGS. You can do this one at a time or you can use Debalizer's Scripts feature to do a whole batch. FIRST you must show Debablizer what you want to do.
1. To Begin, open the first image in story folder using Debabilizer
2. Once you open the photo in Debablizer, go to the SCRIPTS menu and select "Watch Me."
NEXT
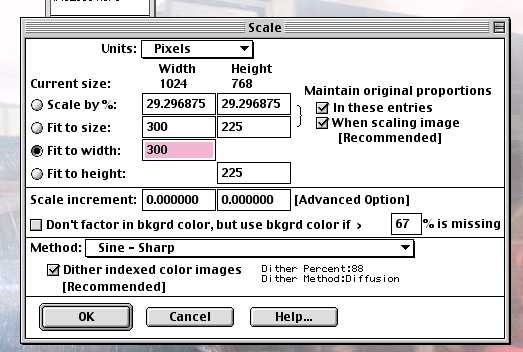
3.From the EDIT menu, select SCALE then SPECIFY
EDIT>SCALE>SPECIFY
4.Select fit to width in the dialog box and put 300
Now they've be reduced. Next you will save them as JPEGS.
5. File>Save As>
6. Navigate to the same folder you started from, and crate a new folder called "reduced" <in this image the folder was called "jpegs"
You MUST direct the program to the folder where all these pictures will be saved to. You place them within the same folder as all the other original photos in the folder you're working from.
Once you're "IN" that folder . . .

7. Go to the Scripts menu and select Stop Recording.
Now you are ready to turn the rest of the pictures into JPEGs.
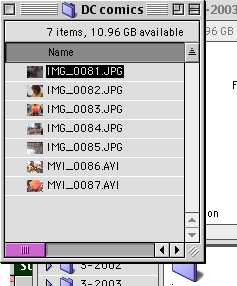
Now you want to select all the other PICT files that you wish to turn into JPEGs.
Inside the folder, From the EDIT menu, Click Select ALL.
You need to DESELECT the picture you already did plus the jpeg folder you created. You can do this by holding down the Shift Key and Clicking ONCE on the picture and folder which you don't want to JPEG and Reduce.
You will then be presented with the following Dialog box.
On the pop up menu, where it says "NOTHING" select the script you just created called JPEGS.
Then Click "DO IT" and all the pictures will be processed as you did to the first one.
Next, you'll want to either view the pictures in a Slideshow and/or create Captions for your pictures.